Installation Guide
Below are general instructions to help you install our products on your own vehicle. All parts must be installed within 30 days of receipt.
Dash Cover Installation Guide
Easy to follow instructions to install our perfect fitting dash board covers
Print Dash Cover Installation Guide
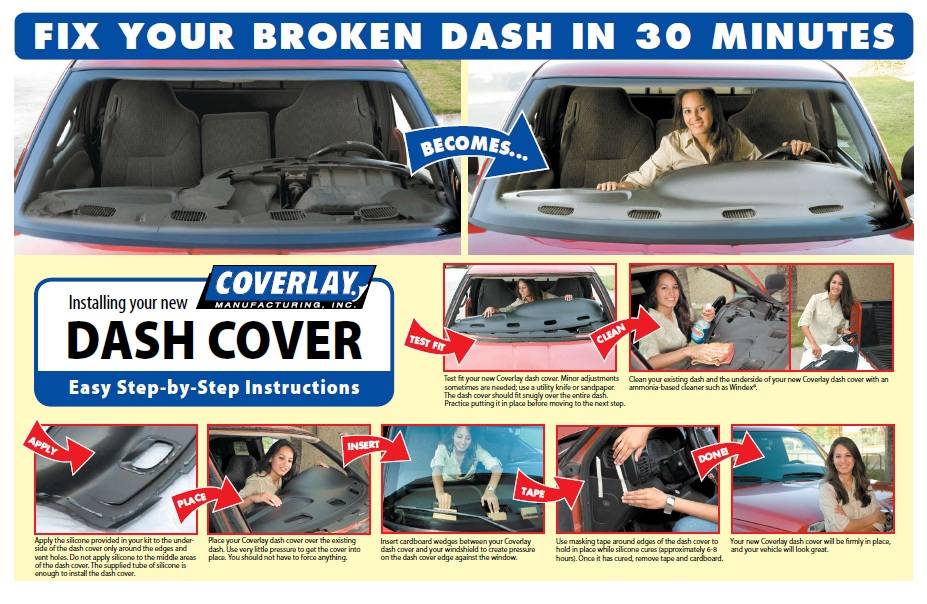

Step 1
Clean your existing dash with an ammonia-based cleaner such as Windex. DO NOT USE ARMOR ALL, ACETONE, PAINT THINNER OR ANY PETROLEUM BASED SOLVENTS.

Test fit your new Coverlay dash cover. Some very minor adjustments are sometimes needed, use a utility knife or sandpaper. The dash cover should fit snugly over the entire dash. Practice putting in place for later when you'll do this with silicone on the cover.

Clean the underside of your Coverlay dash cover with Windex. Apply the silicone provided in your kit to the underside of the dash cover. See next step for close-up.
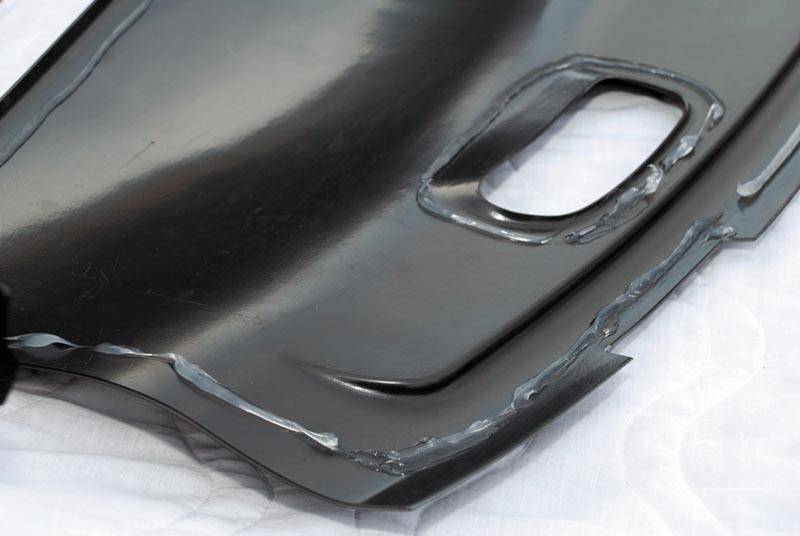
Apply silicone only around the edges and vent holes. Do not apply silicone to the middle areas of the dash cover. Do not make a solid bead - it's best to have gaps. The supplied tube of silicone is enough to install the dash cover.

Place your Coverlay dash cover over the existing dash.
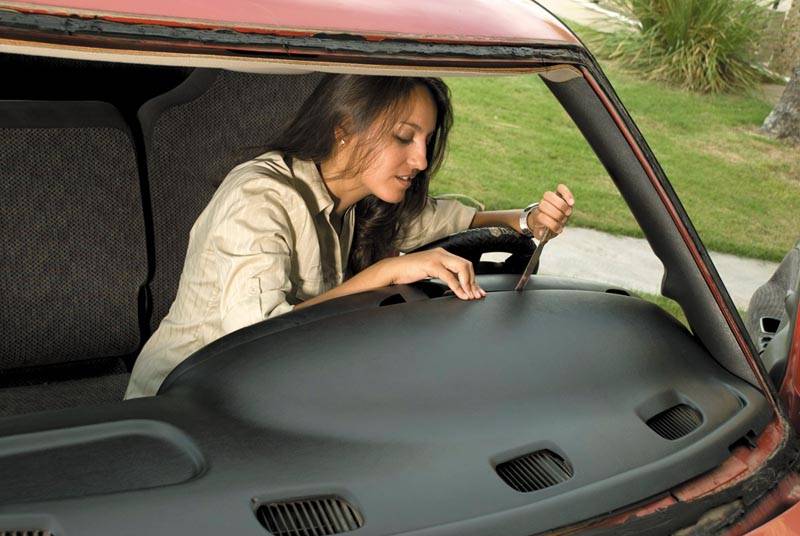
The Coverlay dash cover is made to fit snugly and give a seamless look. You may need a thin putty knife - use very little pressure - to get the cover into place. You should not have to force anything.
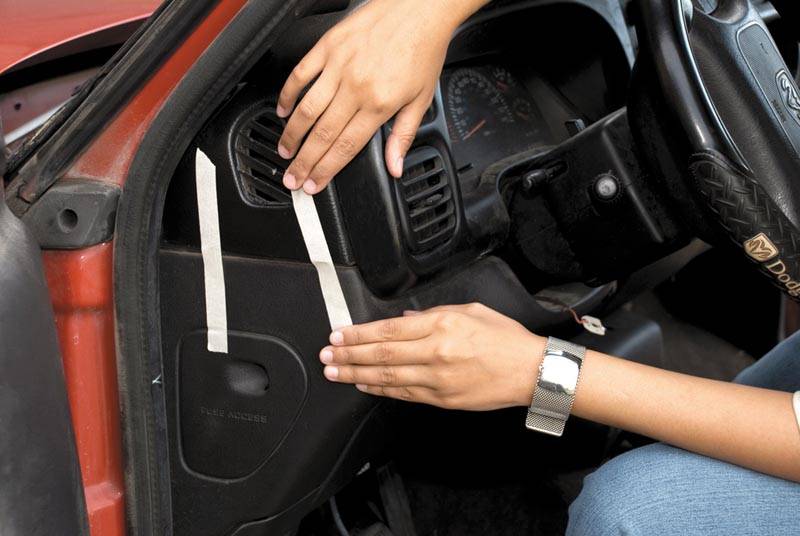
Tape driver's side.

Insert cardboard wedges between your Coverlay dash cover and your windshield to create pressure on the dash cover edge against the window. You can also add phone books to weigh down the large middle surface of the dash cover.

In some cases your may need to install an optional instrument panel trim cover. Just as before, clean the underside and apply the silicone around the bottom edges.